

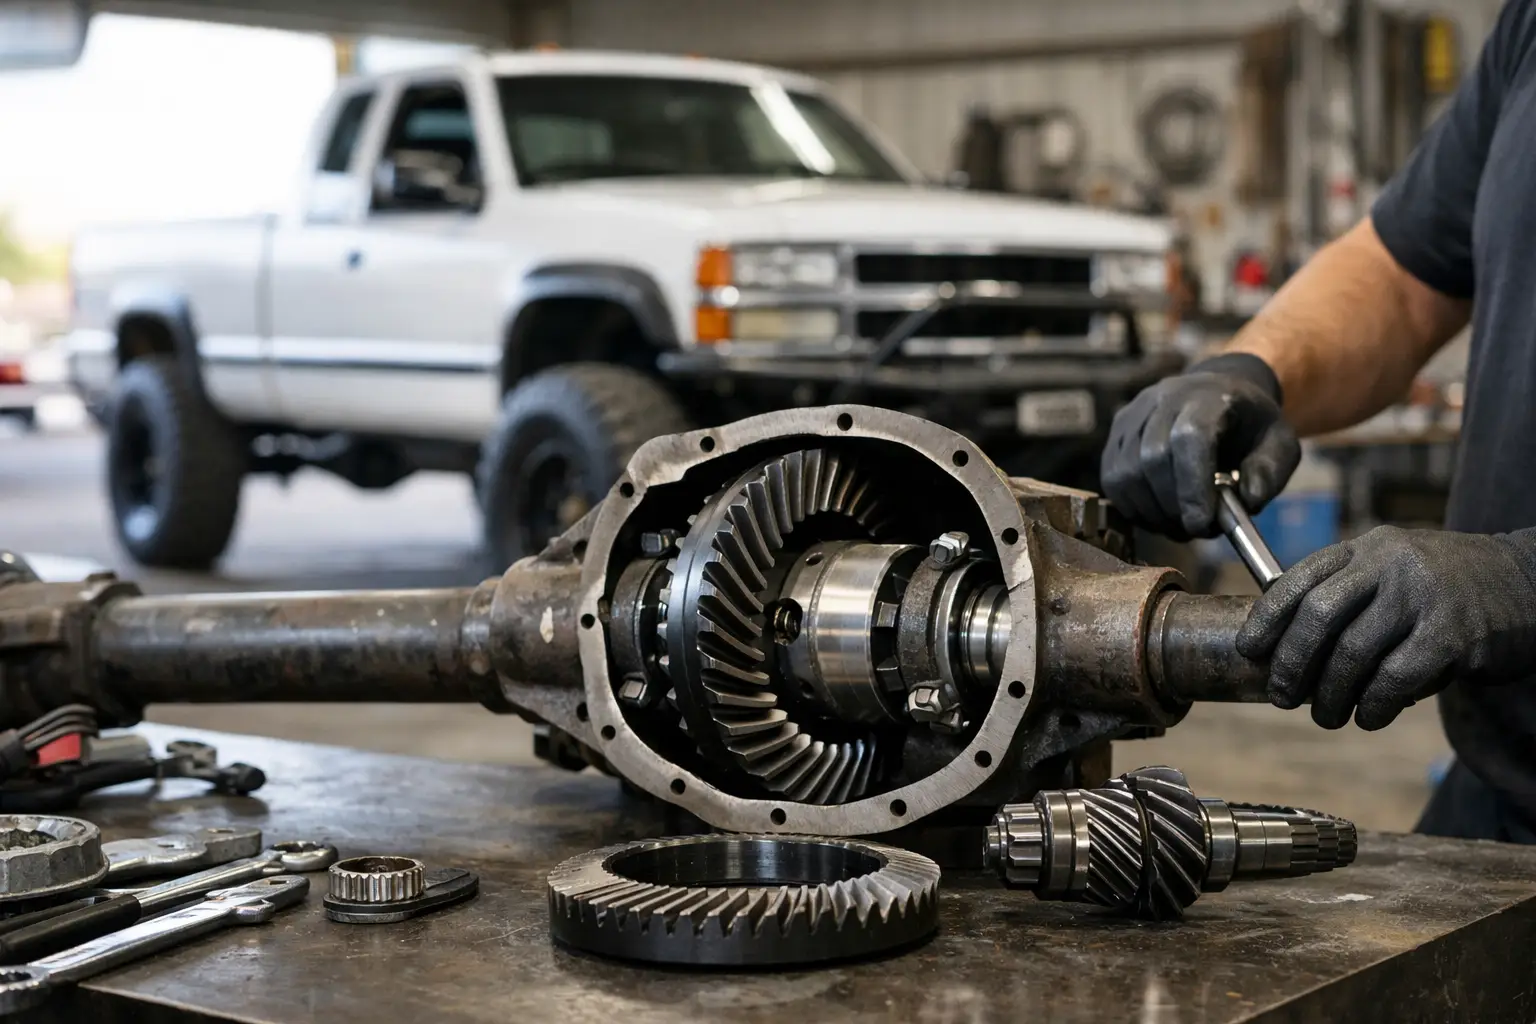
Big tires can make a GMT400 feel lazy fast. If your truck lost its punch after a tire upgrade, hunts between gears on the highway, or feels flat leaving a stoplight, this is exactly why guys start asking how to regear GMT400 axles without wasting money or smoking a fresh gear set.
Regearing is one of the best mods you can make to an OBS Chevy or GMC, but it is not a casual afternoon bolt-on. Done right, it wakes the truck up, gets the transmission happier, and makes the whole combo feel like it belongs together again. Done wrong, it howls, overheats, and eats bearings.
How to regear GMT400 axles without guessing
Before you buy a ring and pinion, figure out what the truck actually needs. A GMT400 can have several axle combinations depending on year, half-ton or heavy-duty chassis, 2WD or 4WD, and whether somebody already swapped parts over the years. Most half-ton trucks run a 10-bolt rear, while heavier trucks may have a 14-bolt semi-float or full-float. Front axles on 4WD trucks are commonly IFS differentials, not a simple solid axle setup, so front and rear parts are not always as interchangeable as people assume.
Start by confirming your current ratio, tire size, transmission, and how you use the truck. A 5.7 truck with 33s that mostly sees street driving wants a different ratio than a 6.5 diesel tow rig on 35s. If you still have overdrive and drive it on the highway, you are balancing launch feel with cruising RPM. There is no magic ratio that fits every GMT400.
If the glove box sticker is still there, that is the fastest confirmation — photograph it and let the GM RPO Decoder pull the axle code off it and tell you what that code meant on your model year.
As a rule, 3.42 gears are soft with larger tires, 3.73s are a mild step, and 4.10s are the safe bet for a lot of trucks on 33s or light 35s. Go deeper if the truck tows hard, lives in the mud, or has a heavier engine and bigger rubber. But more gear is not always better. If you spend hours at interstate speed, too much ratio can make the truck busier than you want.
Pick the ratio before you touch a wrench
This is where a lot of builds go sideways. Guys buy whatever ratio their buddy liked, then realize their own combo is totally different. Tire diameter matters more than sidewall branding, and actual measured height is what counts.
For a mostly stock small-block GMT400 on factory-size tires, 3.73 or 4.10 can both work depending on transmission and use. Once you jump to 33-inch tires, 4.10 usually puts the truck back in a happier range. At 35 inches, many owners prefer 4.56 if they care more about drivability than low cruise RPM. On the other hand, a truck that sees long highway trips with a healthy 6.0 swap may be perfectly fine with 4.10s and 35s.
The real answer is to choose a ratio that matches engine torque, transmission gearing, tire size, and vehicle use. If one of those changes later, the perfect choice can change with it.
What parts you actually need
If you are serious about how to regear GMT400 axles, do not cheap out and buy just gears. A proper job usually includes the ring and pinion, master install kit, bearings, races, shims, crush sleeve or preload shims depending on the axle, pinion seal, ring gear bolts if required, gear-marking compound, and fresh gear oil. If the carrier break changes with your new ratio, you may also need a different carrier or a thick gear set designed to work with your existing carrier.
If the truck is 4WD, regear both axles to matching ratios. That is not optional. A mismatch front to rear will bind the drivetrain and break expensive stuff the second you engage 4HI.
This is also the right time to think about traction upgrades. If your factory Gov-Lock is tired, or you have wanted a limited slip or locker, doing it during a regear saves labor and setup time later.
Tools and skill level matter here
A ring and pinion setup is precision work. You need more than a socket set and confidence. At minimum, expect to use a dial indicator with magnetic base, inch-pound torque wrench, foot-pound torque wrench, bearing puller or press access, calipers or micrometer, setup bearings if you want to do it the cleaner way, and solid knowledge of gear pattern reading.
This is why a lot of experienced truck guys will handle brakes, suspension, engines, and wiring in their garage, but still farm out differential setup. That is not weakness. It is knowing where tolerances matter enough to punish guesswork.
If you have never set backlash, pinion depth, and bearing preload before, practice on a spare axle or be ready for a learning curve. A gear setup is all about tiny changes. One shim move can clean up the pattern or make it worse.
The basic process to regear a GMT400 axle
Pull the cover and inspect everything before ordering yourself into a corner. Check for chipped teeth, carrier wear, axle bearing damage, and metal in the housing. If the housing is bent or the carrier is junk, no fancy gear set is saving the job.
After teardown, the new pinion goes in first. Pinion depth gets set with shims, then preload is established with the correct bearing load. Too loose and the pinion wanders. Too tight and it runs hot and kills bearings.
Next comes the carrier with the new ring gear installed. From there, you set backlash and carrier bearing preload with shims or adjusters depending on the axle. Once the numbers are in spec, paint the gear teeth and rotate the assembly under load to read the pattern.
That pattern tells the truth. A nice centered contact pattern is what you want. If the pattern is too deep toward the root or too shallow toward the face, pinion depth needs adjustment. If it shifts too far toe or heel, backlash tuning comes into play. This back-and-forth is the part that separates a quiet gear set from one that sings all the way home.
The front differential on a 4WD GMT400 follows the same principles, but packaging can make the work more annoying. Getting the front axle out and back in is often more frustrating than the actual setup.
Common mistakes that ruin a fresh gear set
The biggest mistake is rushing the pattern check because the gears look close enough. Close enough is how you get gear whine. Another common problem is reusing questionable bearings or skipping the full install kit to save a few bucks. That almost always costs more later.
Improper torque on the pinion nut, contaminated housing surfaces, and ignoring carrier break requirements are also repeat offenders. So is forgetting that used gears cannot just be mixed and matched with random old setup parts and expected to run quietly.
Then there is break-in. A fresh ring and pinion is not ready for a hard tow, a highway marathon, or back-to-back burnout videos. Heat cycling matters. Short drives with full cool-down periods help the gear faces mate without excessive heat. Skip that step and even a good setup can get damaged early.
DIY or pay a shop?
If you already understand gear patterns, have the measuring tools, and enjoy setup work, doing it yourself can make sense. It also gives you control over parts quality and lets you know exactly what is inside your truck.
If this is your first differential build, a good shop may be the smarter play, especially if the truck is a daily or tow rig. Labor is not cheap, but neither is doing the job twice. The real cost of a bad setup is not just another gear set. It is downtime, frustration, and possibly collateral damage in the axle.
A solid middle ground is doing your own axle removal and reinstall, then taking the third member or housing to a trusted gear guy for setup. That cuts labor while keeping the precision work in experienced hands.
What it costs and what you get back
A quality regear on a GMT400 is not bargain-bin work. Parts for both axles, install kits, fluids, and possible carrier upgrades add up quickly. Add labor, and a 4WD truck can turn into a serious bill. But this is one of those mods you feel every time you drive the truck.
The payoff is stronger acceleration, better shift behavior, less transmission hunting, and a truck that actually matches the tire size you put on it. It feels less like a project fighting itself and more like a complete package.
For truck guys trying to keep the culture alive, that matters. A GMT400 should not feel half-finished because the gears were left behind when the wheels and tires changed.
How to know you chose the right ratio
The right gear ratio makes the truck feel natural. It leaves a stop without drama, downshifts less on grades, and cruises at a reasonable RPM for how you actually use it. The wrong ratio either feels dead on the bottom or too wound up on the top.
If you are still on the fence, be honest about your use. Most trucks spend more time on pavement than in the mud, and most “tow rigs” spend more time empty than loaded. Build for the truck you really drive, not the version of it you picture in your head.
A well-geared GMT400 does not need to scream for attention. You feel it in the first hundred feet, in the way it pulls through a grade, and in the fact that the truck finally feels right. That is money better spent than a lot of shiny parts.
Talk OBS / GMT400 with other owners
Post your truck, your build, or the problem you are chasing. Real OBS / GMT400 owners in the FSC forum will tell you what actually worked on theirs.
Open the OBS / GMT400 Forum →OBS / GMT400 Gear
Shop all OBS / GMT400 gear →
Find every repair, buying, maintenance, and troubleshooting guide in the OBS / GMT400 Owner’s Hub.

